Trending

You have yarn, you have needles, and you have a pattern that quietly assumes you already know something nobody has explained: whether to knit back and forth or join your stitches into a loop. Both produce fabric from the same two stitches, so the choice can feel arbitrary at first. It isn’t. Flat and circular knitting ask for different tools, different habits, and different kinds of patience — and one of them will probably suit your hands better in your first few months.
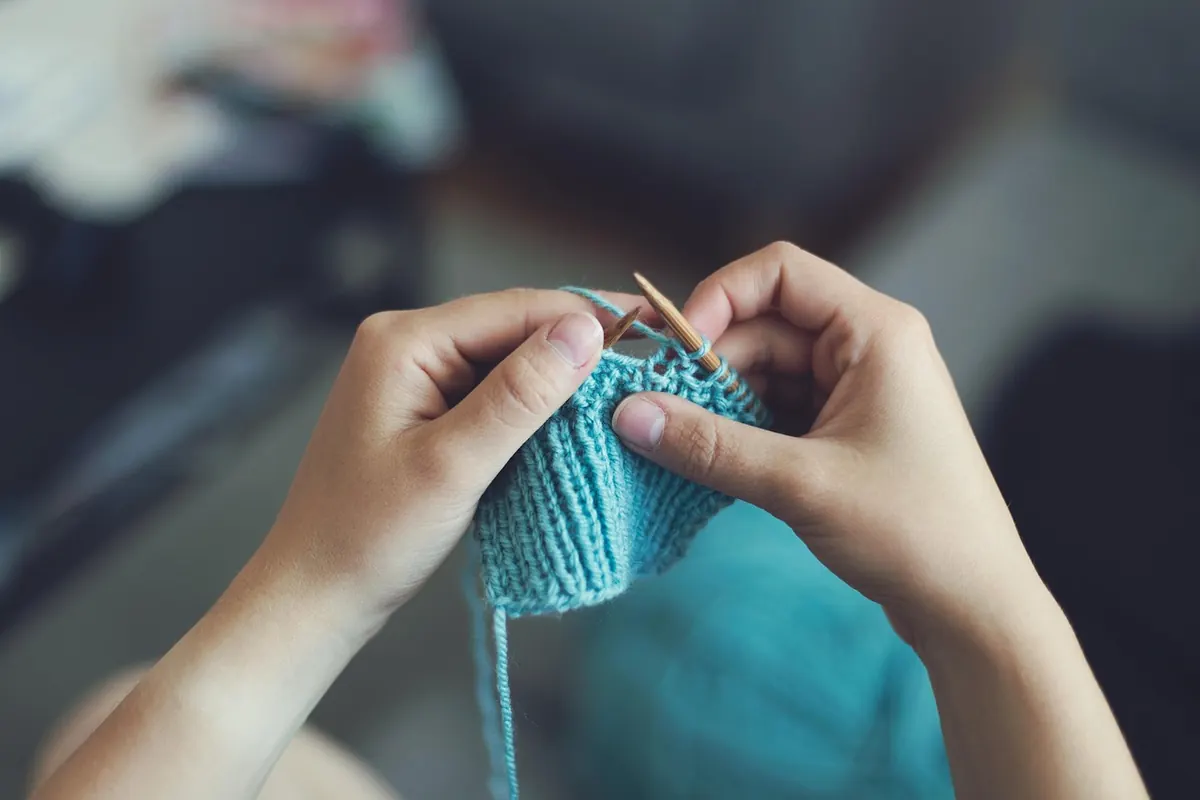
Flat knitting means working back and forth on a pair of straight needles, turning the work at the end of every row. You knit one row, purl the next, and the right side faces you every other row. The fabric comes out as an open piece with a selvedge edge on each side, which you later sew to another piece.
Knitting in the round means casting on, joining the last stitch to the first without twisting, and then working continuously around a loop. Your stitches form a tube, the right side always faces out, and stockinette stitch is simply knit, knit, knit, every single round. No purling required for a smooth surface, and no seams to sew at the end.
Same two stitches. Completely different geometry.
Flat knitting is easiest on straight single-point needles, ideally 25–30 cm long. Circular knitting needs circular needles — two short tips joined by a cable — or double-pointed needles for very small circumferences.
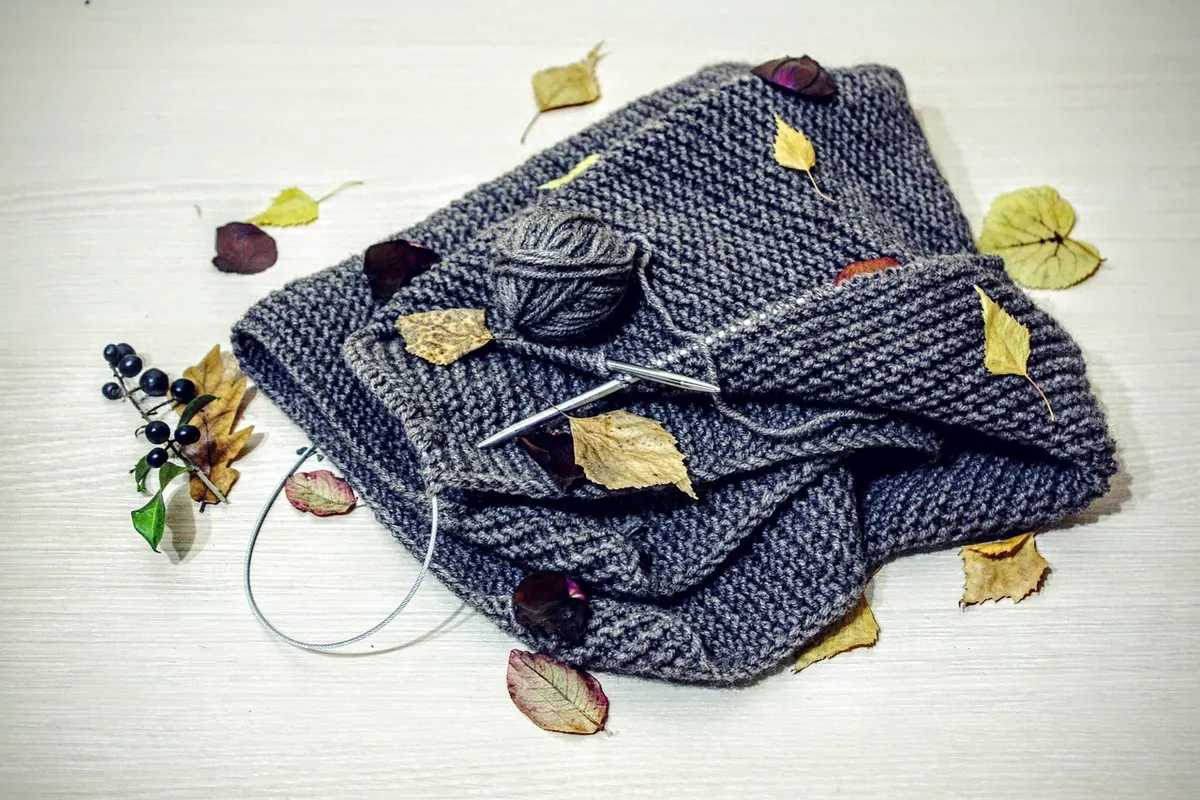
Here is the advice most beginners hear too late: buy circular needles even if you plan to knit flat. A circular needle is two straight needles with a cable between them, and it will work flat for you whenever you turn at the end of a row. One 80 cm circular in a worsted-weight-friendly size, say 4.5 mm or 5 mm, can knit a scarf flat and a hat in the round.
A few things worth knowing before you choose a cable length:
Flat knitting lets you pause. Every row ends with a turn, and that turn acts like a small rest stop where you check your stitch count and look at what you have made. If you drop a stitch three rows down, you can usually see it and pick it back up without much drama.
It also teaches you to read your fabric. Working flat, you meet the wrong side regularly, so you learn what purl bumps look like and how a knit stitch hangs. That knowledge pays off for years.
The costs are real, though. Flat stockinette means purling half your rows, and plenty of knitters purl more slowly and more loosely than they knit, which can create visible ridges. You will also have to seam your pieces, and seaming is a separate skill — a well-sewn seam looks invisible, a rushed one looks like a scar down the side of your hat.
Once the join is made, circular knitting becomes meditative. For a stockinette hat or cowl, every stitch is a knit stitch, so your hands settle into one motion and the rounds stack up quickly. Many knitters find their tension evens out too, because there is no switch between knit and purl rows.
You can also try things on as you go. A hat slides onto your head mid-project; a sock can be tested on a foot. Nothing is committed until you bind off.
The trade-offs are concentration-based rather than technical. Joining the round with a twist in your cast-on creates a permanent mobius, and there is no fixing it later. Small ladders can appear at the join if your first stitch of each round is loose. Ripping back is slower, because you undo one round at a time instead of one row. And a tube of knitting is awkward to lay flat when you want to inspect it.
Treat the join as a five-second ceremony: lay the cast-on flat on the table, check that the cast-on ridge runs along the inside, and only then knit the first stitch.
Match the project to the method rather than forcing one to do everything.
Good beginner projects for flat knitting:
Good beginner projects in the round:
Before knitting the first round, run your finger along the cast-on edge all the way around. It should form one clean line, not a spiral. If you are nervous, knit the first row flat and join on the second row instead; that leaves a tiny gap you can close later with the yarn tail, which is far easier than untwisting a joined round.
If your purl rows look looser than your knit rows, try purling with a needle half a size smaller, or give the yarn a gentle tug after each purl stitch. Blocking the finished piece — washing it, pressing it into shape and letting it dry flat — evens out small differences that look dramatic on the needles.
In the round, the equivalent annoyance is a ladder at the join. Give the first two stitches of each round a firm tug and shift your marker one stitch every few rounds so no single column takes all the strain.
Learn flat first if you have never held needles: a garter-stitch scarf gives you miles of practice with no joining, no counting and no purling. Move to the round as soon as knit and purl feel automatic, because joining is a ten-minute skill, not a month-long one.
If you already knit and purl comfortably, start in the round. A cowl in chunky yarn will teach you joining, markers and reading your work in a single evening.
A neat exercise covers both in one ball of yarn: cast 60 stitches onto an 80 cm circular needle, knit flat for ten rows, then join and knit in the round for ten rounds. You will feel the difference in your hands immediately, and you will know which one you want to pick up tomorrow. Whichever you choose, knit a small gauge swatch first — in the round, work it as a short tube or carry the yarn loosely across the back of a flat swatch — and keep your first projects small enough to finish before your interest wobbles.
Photo: 742787 / Pixabay